What you need to follow this tutorial
To follow today’s tutorial, you will need:
- A USB Cable
- A ESP32 Board
- A computer with internet connected
- An Arduino IDE in your computer
Get your Arduino IDE ready
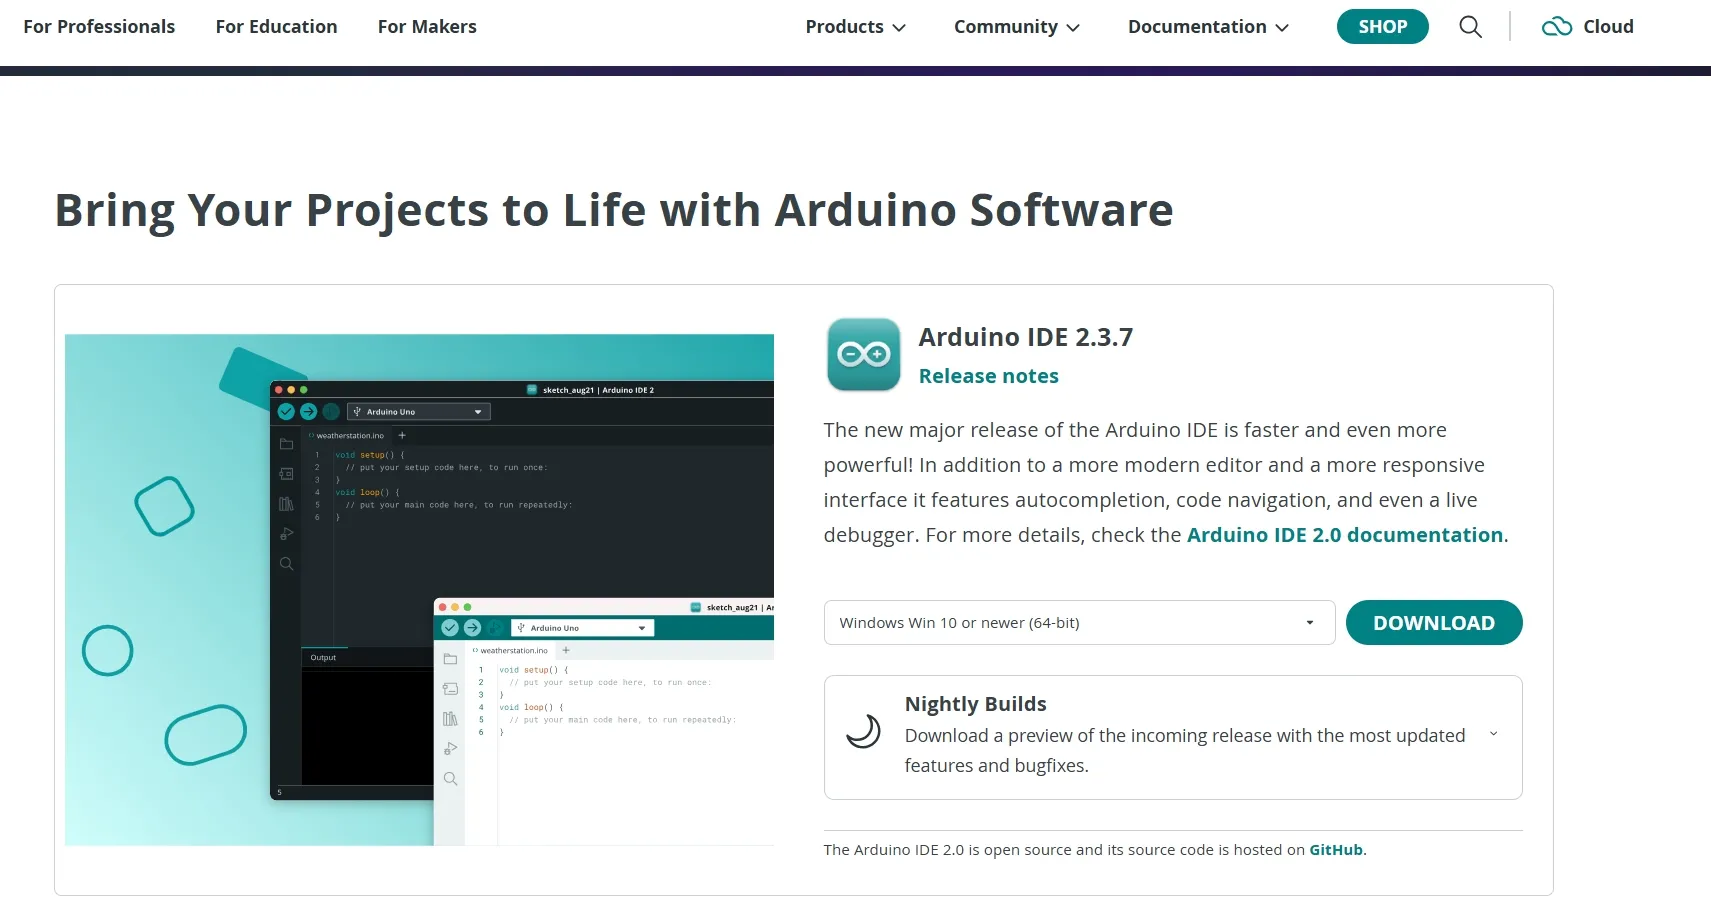
Install your Arduino
visiting https://www.arduino.cc/en/software/
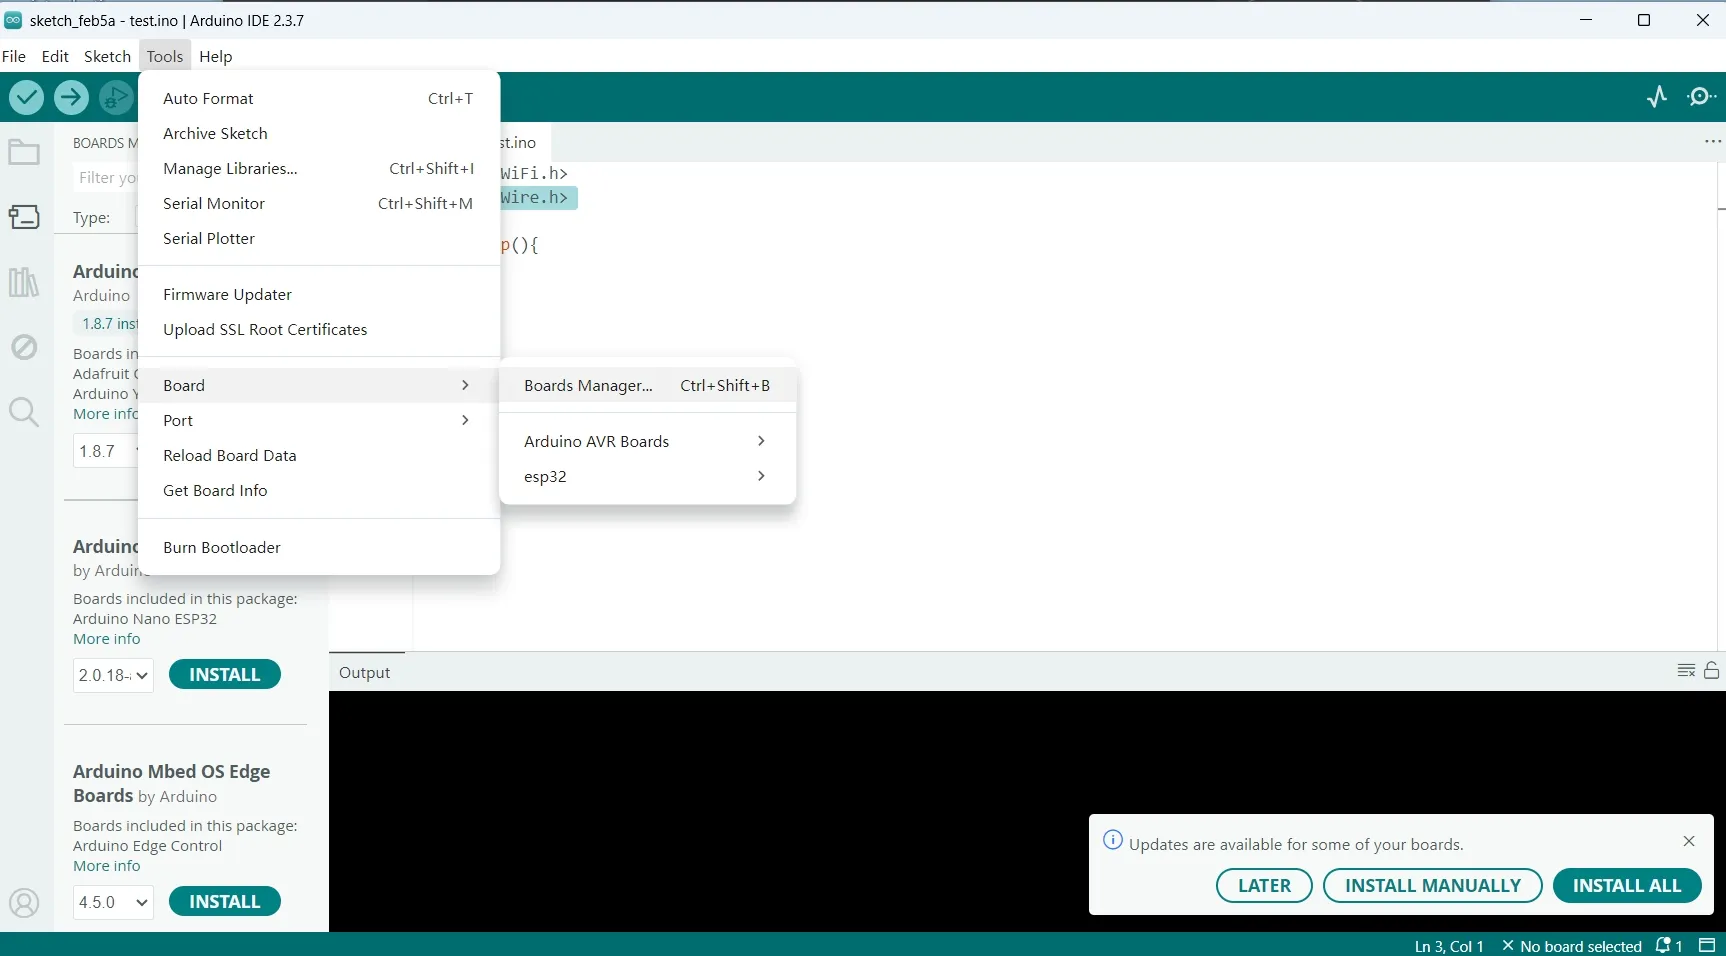
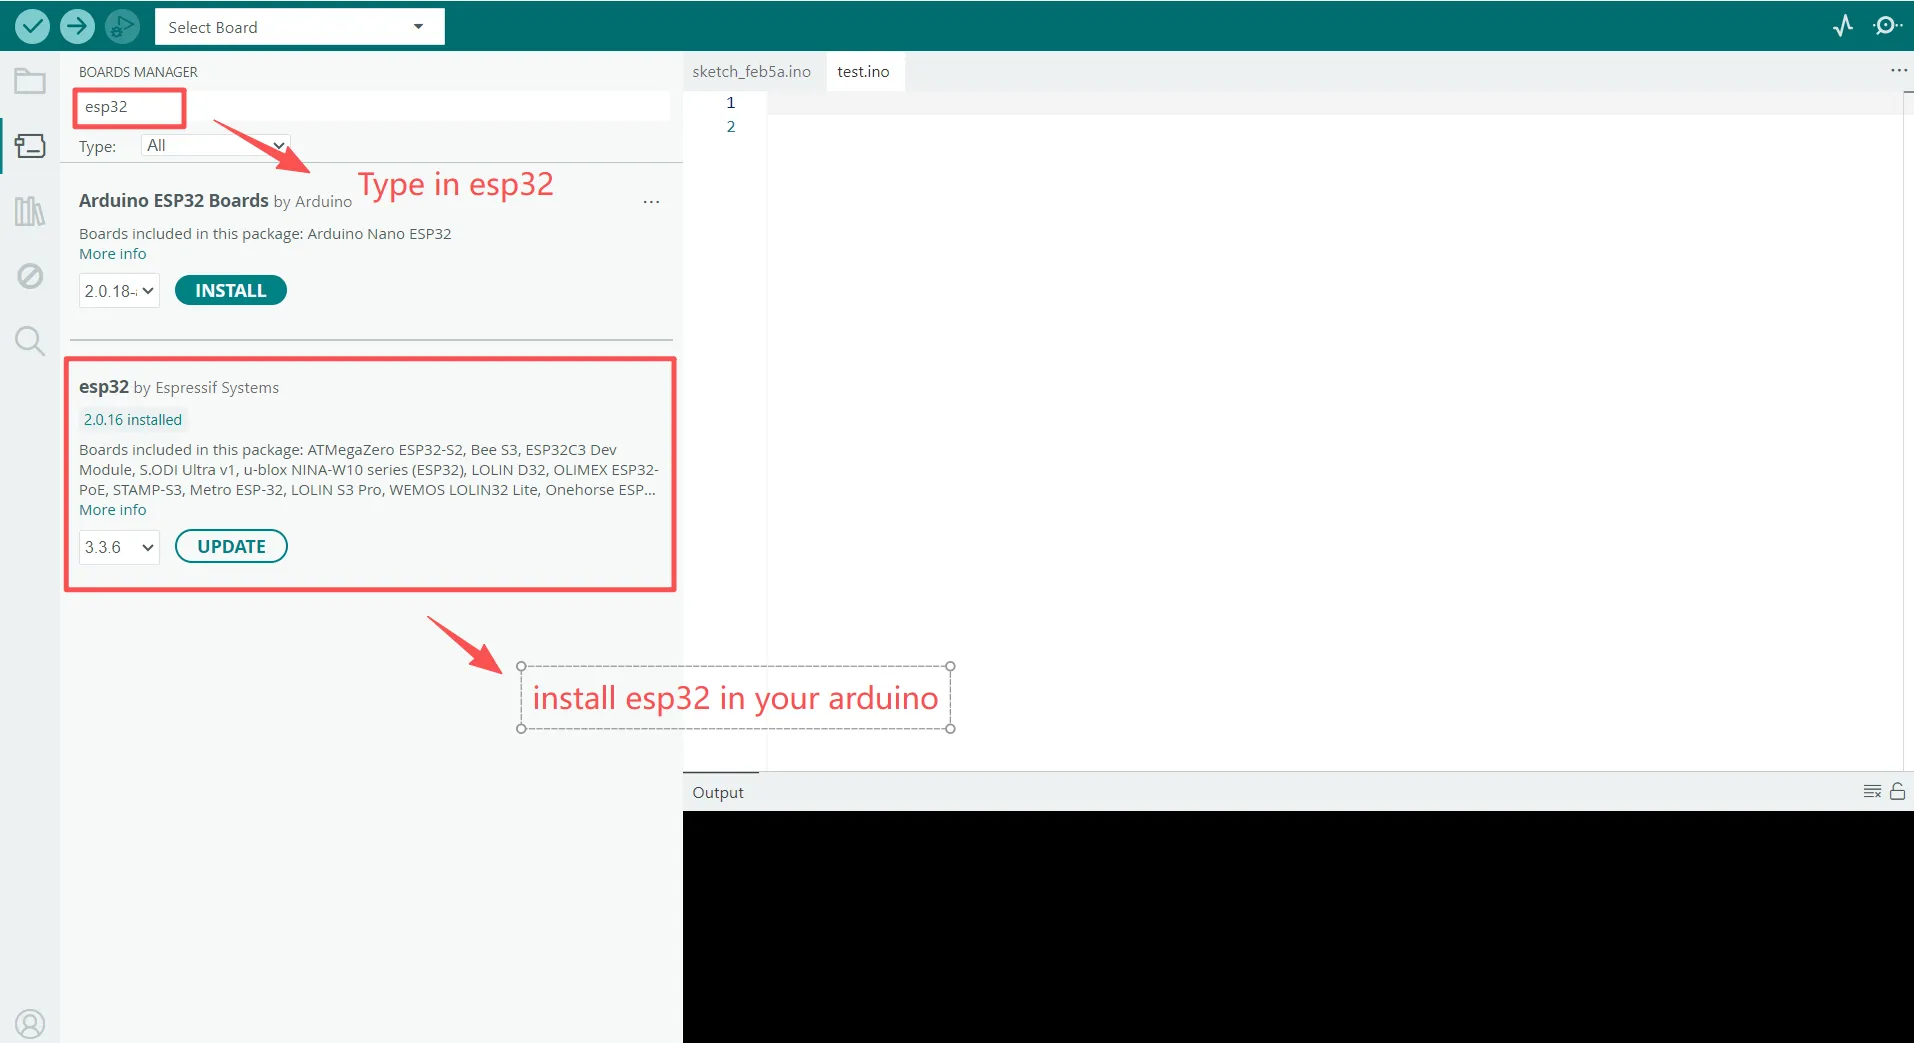
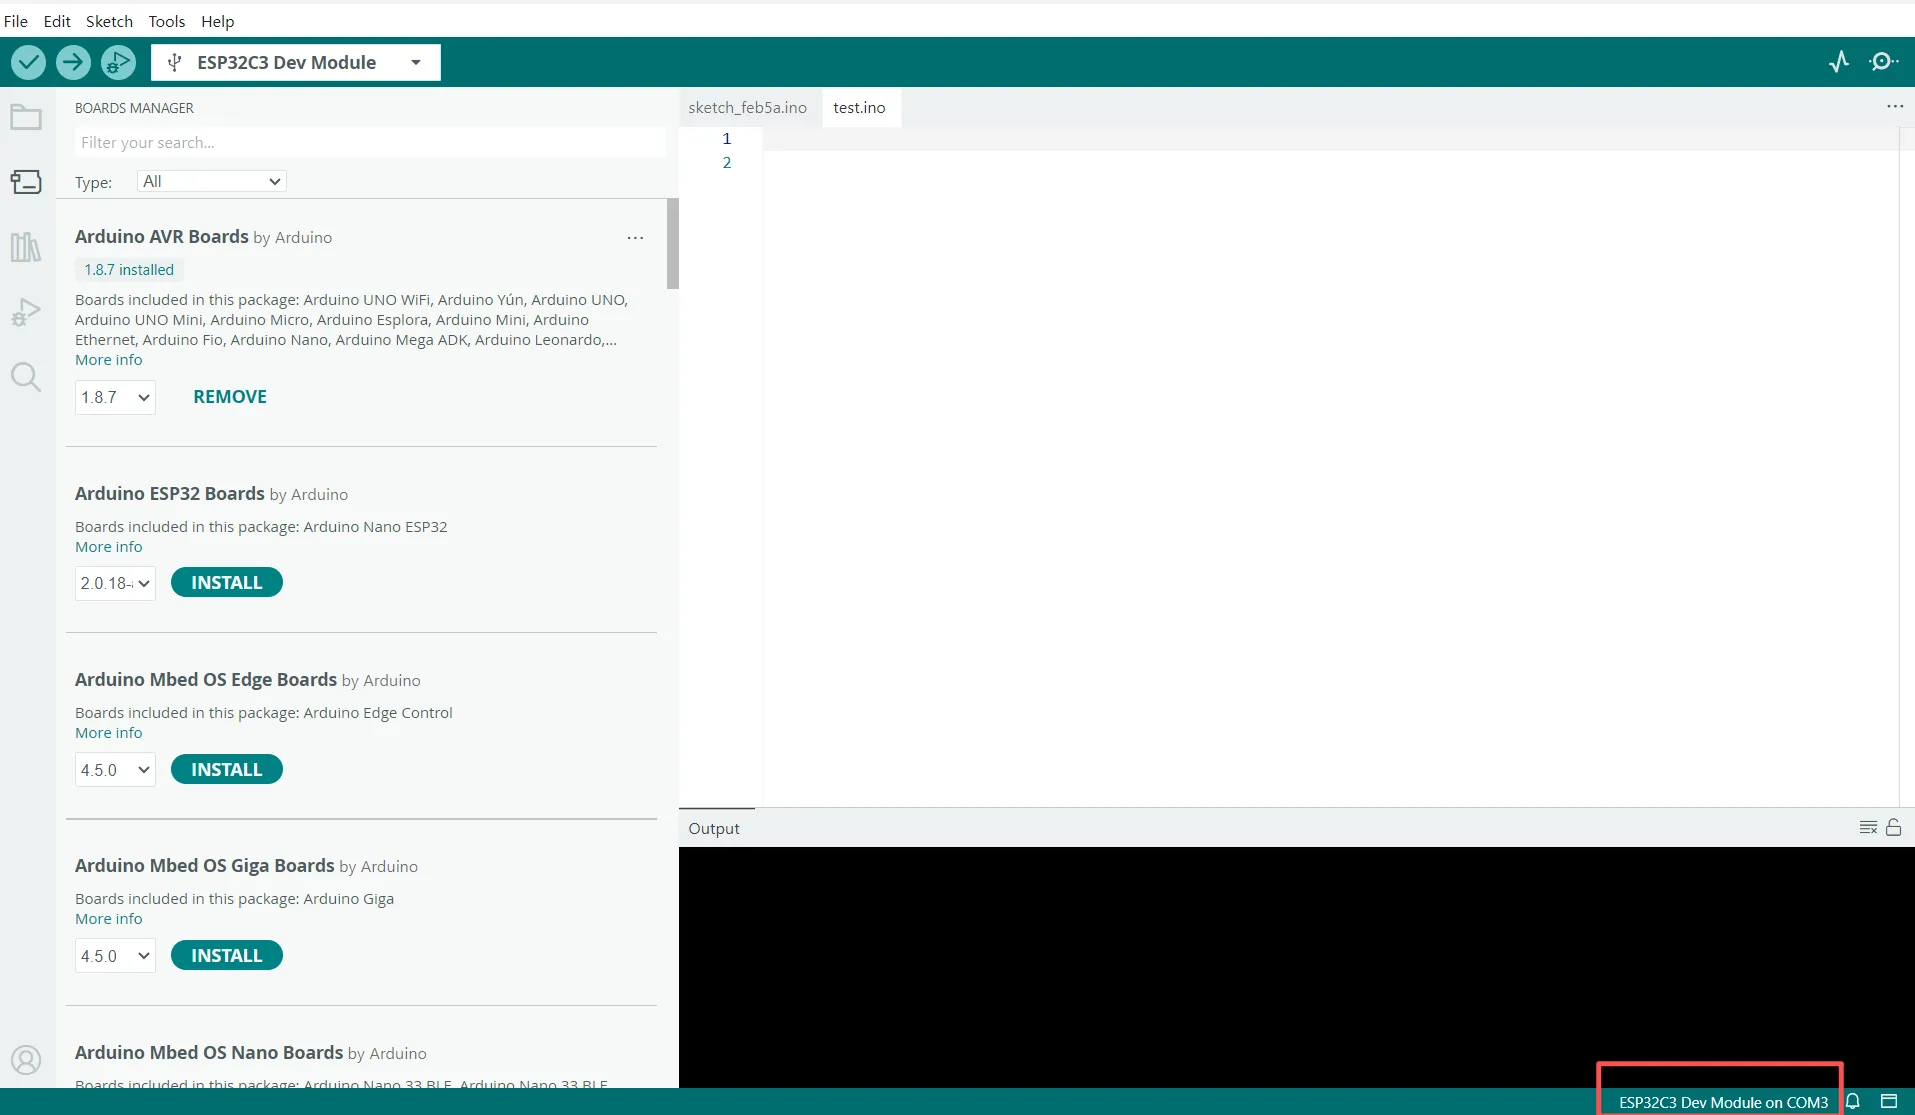
Allow esp32 Board in Arduino
Arduino IDE does not support esp32 boards automatically, to use esp32 boards in Arduino, we need to run some settings first.
Selctct: Tools—Board—Boards Manager
Select Board and Port
After connecting your ESP32C3 board with your computer, select your board and your port.
In this guide, we’re using the ESP32C3, so select ‘ESP32C3 Dev Module’ from the board menu. If you see multiple ports and aren’t sure which one to use, here’s a quick trick: unplug your ESP32C3 and see which port disappears. That’s your target! Reconnect the board and select that port to proceed.
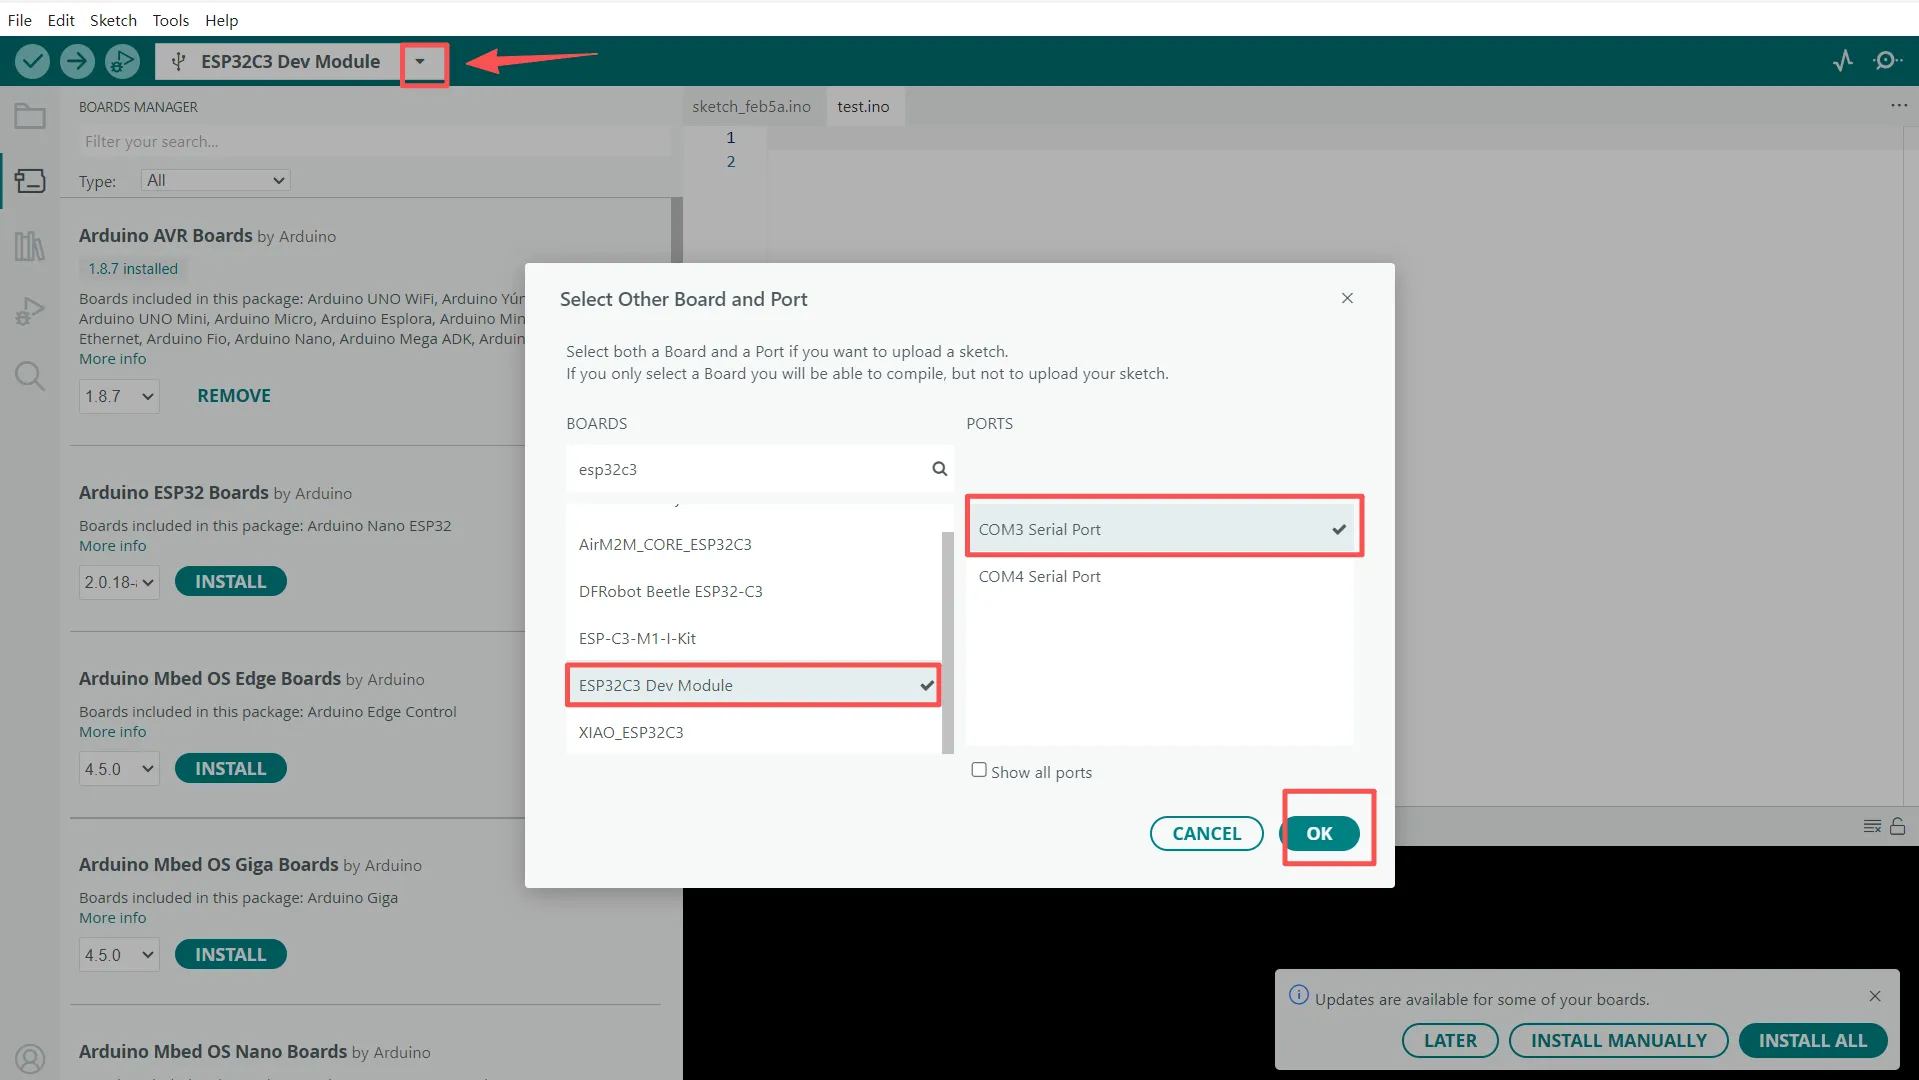
“If everything is set up correctly, you should see your board model and port number displayed in the bottom-right corner of the Arduino IDE.”
Write your first line of codes
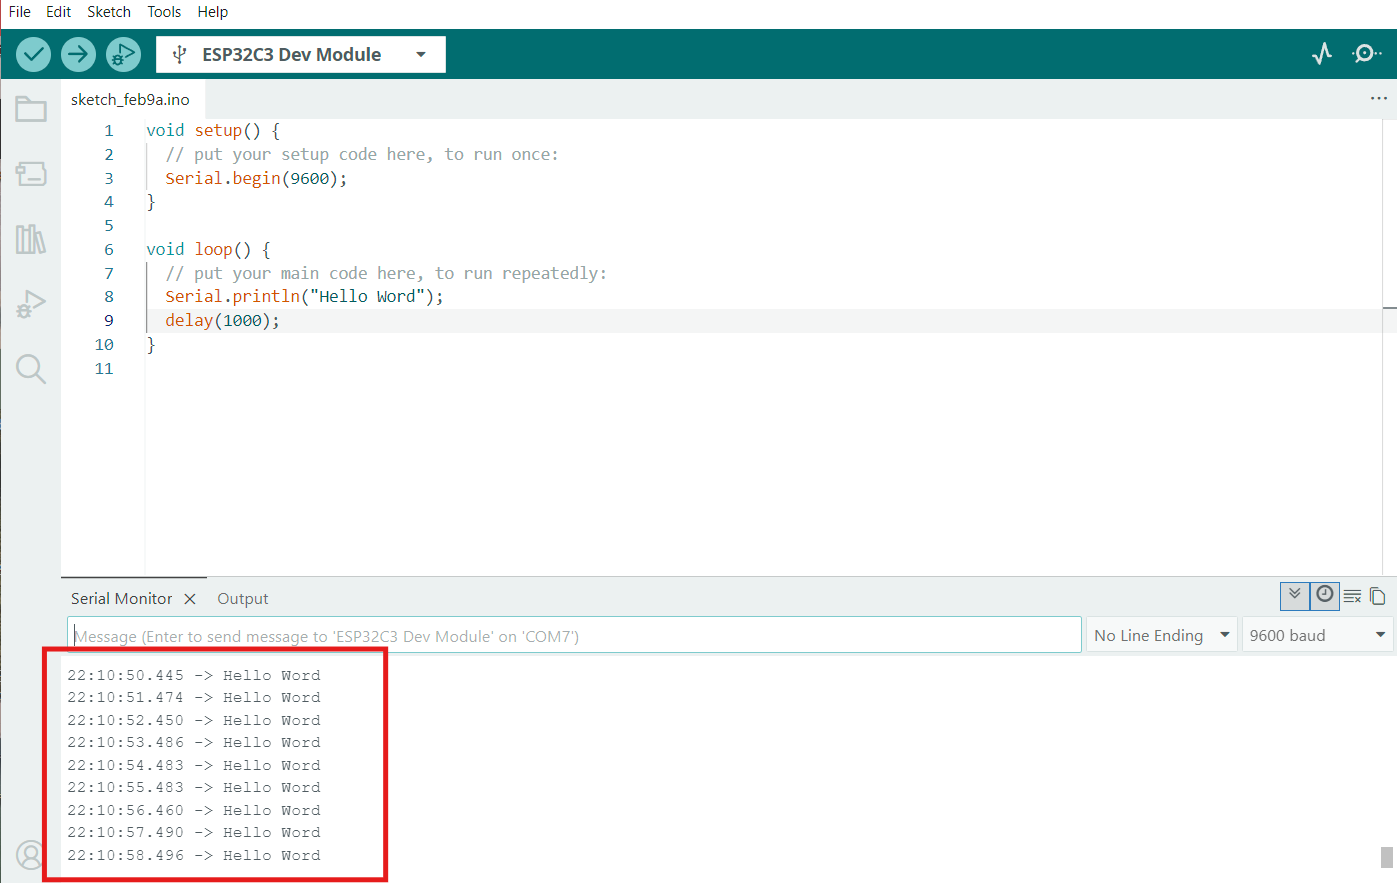
Press Ctrl + N to start a new sketch. Then, open the Serial Monitor and check your baud rate settings.
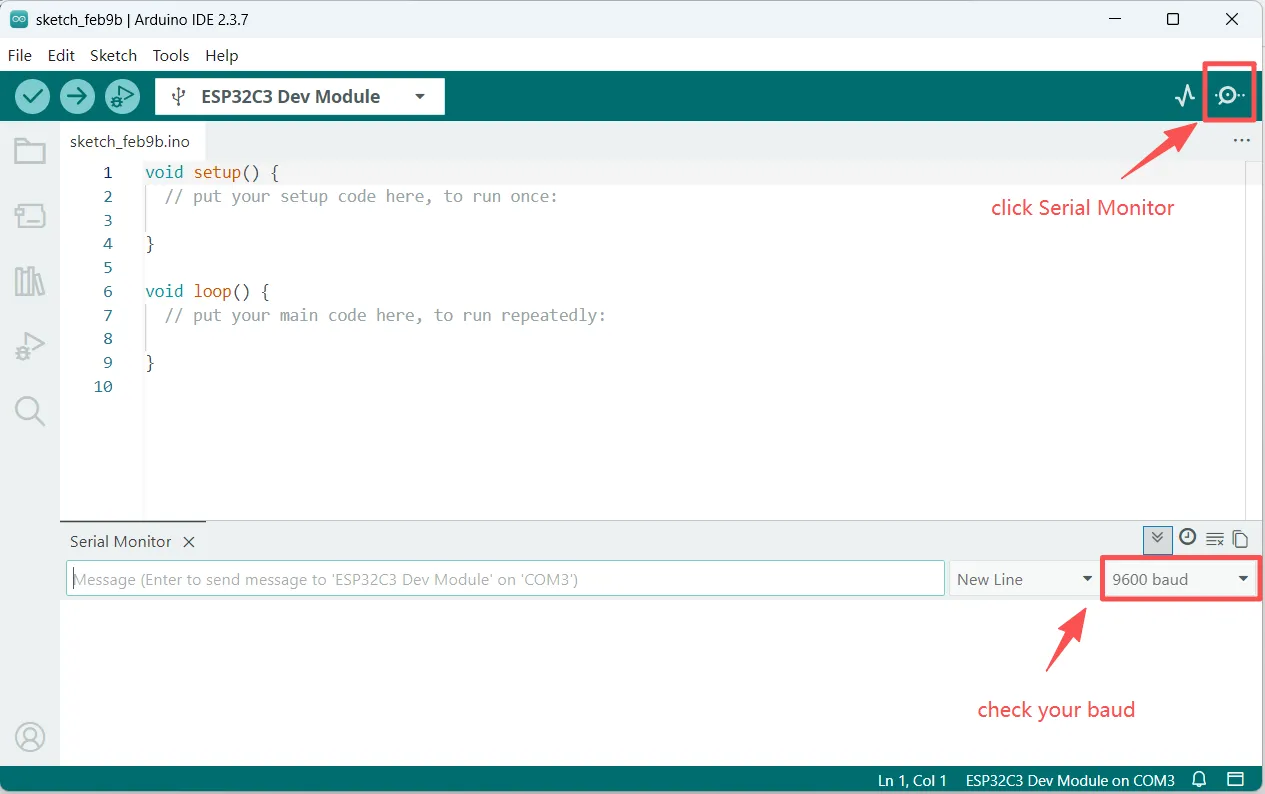
Copy the codes below into you sketch, replace the 9600 with the baud rate of your Arduino.
void setup() {
  // put your setup code here, to run once:
  Serial.begin(9600);
}

void loop() {
  // put your main code here, to run repeatedly:
  Serial.println("Hello Word");
  delay(1000);
}
The code snippet consists of two main functions: setup() and loop(). The void keyword at the beginning indicates that these functions do not return any values to the system.
The setup() function runs only once—whenever the board is powered on or reset. In contrast, the loop() function executes continuously, running over and over again until the power is disconnected or a critical error occurs.
Serial.begin(baud_rate) initializes the communication speed. If the baud rate doesn’t match, your Serial Monitor will likely display ‘tofu’ (gibberish characters) instead of readable text.
Serial.println(“your words”) outputs your message to the Serial Monitor. Meanwhile, Delay(1000) pauses the program for 1,000 milliseconds (exactly 1 second). Once the delay is over, the loop() function continues, executing the code blocks over and over again.
Hello World
Now, we have finish our codes. Before ESP32C3 can run our program, we need to compile our codes and upload our codes to our board.

Perfect, you have run your first ESP32C3 project!